
Reviewed · PHOTOSHOOTS
Amsterdam Photography Masterclass – Private Photography Lesson
A camera can feel smarter after a lesson like this. This private photography masterclass turns Amsterdam’s famous streets and bridges into a hands-on classroom, with a pro photographer guiding what to shoot and how to set it up. You’ll walk to iconic canals and architecture, learning practical camera basics that you can use the moment you get back to your hotel.
What I like most is the focus on actual technique you can try on the spot, not just theory. I also like that you can choose between daytime and evening timing, which matters a lot for the look of your photos. One thing to consider, though, is that you need your own DSLR camera to get the most out of it.
In This Review
- Key highlights that make this worth it
- Why Amsterdam works so well for a photo lesson
- The instructor matters: pro guidance that actually changes your photos
- Price and value: what you are really paying for
- Your walking route: how each stop helps you learn
- Statue Amsterdams Lieverdje, short session, instant subject
- Voetboogstraat and Beijbhof de Voetboogsteeg, texture and perspective
- Leidsegracht bridges, learning to control reflections
- Rijksmuseum exterior and grounds, shooting “big” without getting lost
- Magere Brug over the Amstel, classic bridge with drama
- Nieuwe Kerk, a church front that teaches careful framing
- Blauwbrug, the bridge with a color cue
- Nieuwmarkt, city life edges and strong geometry
- Huis Bartolotti (Museumhuis Bartolotti), detail and character
- How to prepare so you learn fast
- Day vs evening: choosing the best time for your camera goals
- Logistics that make the lesson smoother
- Who this tour is best for
- Quick FAQ for before you book
- FAQ
- How long is the Amsterdam Photography Masterclass?
- How much does the private lesson cost?
- Is this a private tour?
- Do I need to bring my own camera?
- Is a tripod included?
- Is the tour in English?
- Does the tour run in all weather?
- Where do we meet, and where does it end?
- What is the cancellation timeframe?
- Should you book this Amsterdam photo lesson?
Key highlights that make this worth it
- Private small group (up to 4) means you get real attention, not a rushed walkthrough
- Professional photographer instruction focused on settings and what to do in the moment
- Day or evening tour options so you can match Amsterdam’s light to your camera goals
- A stop-by-stop shooting plan that targets specific photo opportunities across the city center
- Free admission at every photo stop listed in the route, so you can focus on shooting
- Tripod available on request, helpful if you want more stable shots, especially at night
Why Amsterdam works so well for a photo lesson
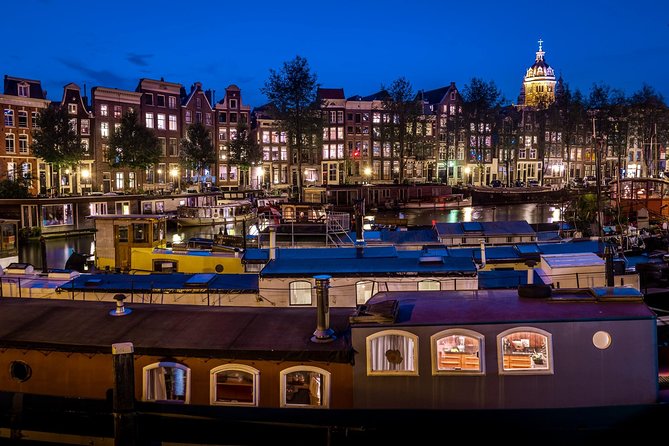
Amsterdam is basically built for photography. You get repeating shapes, reflective water, and classic city geometry all within easy walking distance. The best part is that you are not stuck in one view. With this tour, you move from statues to narrow lanes, from museum exteriors to church fronts, and across multiple bridges that change the composition instantly.
This setup is ideal for beginners and returning photographers because you can practice one skill, then test it again a short walk later. That short feedback loop is where lessons click. Instead of reading about exposure or framing, you can use your camera right away and see the results the same afternoon or evening.
Other shoots with the canals behind you:
- Amsterdam Canal, Tulip, Windmill Photoshoot | Custom Request
★ 4.9 · 307 reviews - Amsterdam Canal, Tulip, Windmill Photoshoot | Custom Request
★ 5.0 · 147 reviews - Amsterdam: Foam Photography Museum Admission Ticket
★ 4.2 · 141 reviews
The instructor matters: pro guidance that actually changes your photos
The instruction quality is the main reason this tour earns consistently top marks. In multiple experiences, the guide is described as patient, skillful, and willing to slow down so you can learn, not just snap photos and move on. I especially like that the teaching adapts to the type of photos you want.
If your goal is night photography, this is where you can benefit. One reviewer highlighted that Renzo helped them with night shooting using their camera, getting them successful for the first time. Another reviewer described William tailoring the walk to the kind of pictures they wanted, plus giving clear pointers on camera settings that led to better shots quickly.
Even if you already own a camera, a good teacher can spot what you are doing wrong in seconds, then give a fix you can use immediately. That is what turns a good camera into better photos, and it is a big part of the value here.
Price and value: what you are really paying for
At $204.24 per person for about 3 hours, this is not a casual drop-in activity. You are paying for three things that add up: a private format (only your group), a professional photographer guide, and a planned route that keeps you shooting while the lesson stays focused.
You are also not paying extra entry fees based on the listed stops, since each of the stops includes free admission. That means your budget stays predictable, and you are not bouncing between attractions with unpredictable costs.
If you travel as a pair or small group, the value gets even better. The booking allows up to 4 people, and the tour includes group discounts. In a city where guided tours can become pricey fast, a focused photo lesson for the whole group is a smart use of time.
Your walking route: how each stop helps you learn
This tour is set up as a sequence of short shooting sessions. You spend around 20 minutes per stop, which is long enough to try a few angles and camera settings, but not so long that you lose momentum.
Also, the pace is designed for learning in real locations, so you are constantly choosing viewpoints, adjusting framing, and thinking about light. Here is what each place adds to your skills.
Some other canal-ring outings to set against this

Statue Amsterdams Lieverdje, short session, instant subject
You start with the Amsterdams Lieverdje statue. It is a small, specific subject in a city that loves wide views. That means it is a great first exercise: you practice getting close to a detail, managing depth, and composing so the surrounding street does not clutter the shot.
A possible downside of this kind of opening stop is that if you feel overwhelmed, you might rush. The fix is to spend the full 20 minutes doing small experiments: one wider frame, one tighter crop, and then try one setting change at a time.
Voetboogstraat and Beijbhof de Voetboogsteeg, texture and perspective
Next you head into the Voetboogstraat area and toward Beijbhof de Voetboogsteeg. These lanes tend to reward you for perspective. Instead of photographing a postcard view, you can play with leading lines, doorways, and the way buildings narrow the frame.
This is a good stop for learning composition basics because you can test how your camera handles contrast between shaded areas and brighter patches.
Leidsegracht bridges, learning to control reflections
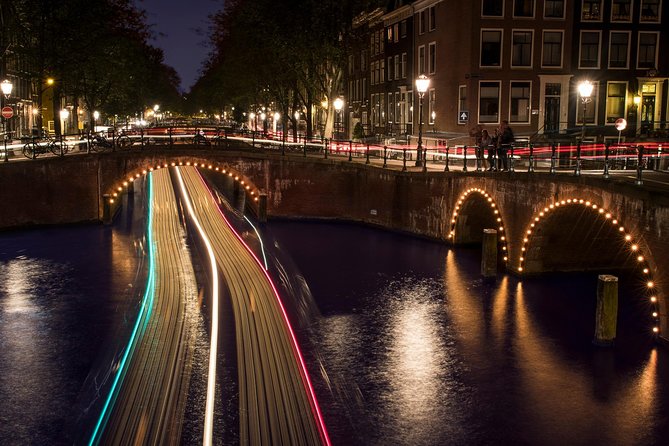
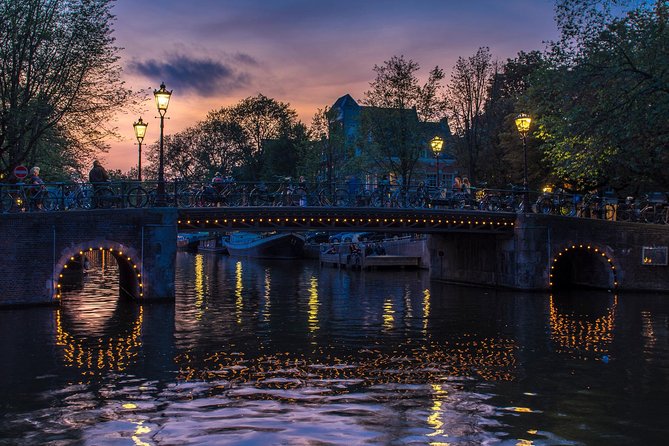
Then you shift to Leidsegracht, focusing on the bridges and their surrounding water views. Bridges are perfect for photography lessons because they naturally create symmetry or near-symmetry. They also create reflections, which bring a whole new challenge.
If you are learning exposure, this stop helps you see how bright highlights on water can trick your camera. You will likely test settings more than once here, and that practice matters.
Rijksmuseum exterior and grounds, shooting “big” without getting lost
You then photograph the Rijksmuseum and its grounds. This is where you can practice steady framing and working with scale. A museum building is not just a backdrop. It gives you clear architectural lines and a stable subject to compare your camera changes against.
One consideration: if there are lots of people in front of a popular angle, you may need to reposition quickly. A pro guide is useful here because they can steer you toward angles where you still get clean lines, even when the crowd situation is less than ideal.
Magere Brug over the Amstel, classic bridge with drama
At Magere Brug you photograph the Amstel River and the bridge. This location is famous for a reason. It gives you a strong focal point and a sense of place, whether you are shooting in softer daylight or trying for evening mood.
If you are aiming for night photos, this is the kind of stop that helps you practice how to handle low light. You might also want a tripod for stability. The tour notes that a tripod is available upon request, so if you want one, ask.
Nieuwe Kerk, a church front that teaches careful framing
The next stop is Nieuwe Kerk. Churches are great for photography practice because they often have high ceilings, tall verticals, and lots of strong shapes. They also show you quickly whether your horizon line is drifting and whether you are over-zooming into distortion.
If your camera settings are changing, the church façade is a good reference point. You can compare how your framing and exposure look in one consistent subject.
Blauwbrug, the bridge with a color cue
Then you move to Blauwbrug. A bridge like this can teach you how to simplify a scene. Instead of trying to capture everything, you learn to choose one story: the bridge shape, the water beneath, or the angle that leads the eye through the frame.
This is also a chance to practice fast adjustments. In Amsterdam, you are often walking from one photo opportunity to another, so being able to refine quickly is part of the skill.
Nieuwmarkt, city life edges and strong geometry
At Nieuwmarkt, you get a more lively square feel. It can be useful for photographing the “in-between” moments, like the edges of a plaza and the way buildings frame open space.
The tradeoff is that squares can be busy. You might find yourself choosing angles that avoid too much clutter. A guide who understands where to stand can help you get a cleaner frame without losing the energy of the location.
Huis Bartolotti (Museumhuis Bartolotti), detail and character
Finally, you photograph Huis Bartolotti, also known as Museumhuis Bartolotti. This kind of building gives you details, textures, and architectural character. It is an excellent close to the lesson because it helps you shift from wide compositions to careful details.
It also gives you a chance to try something you learned earlier one last time, like testing a tighter crop or adjusting exposure for darker shadows.
How to prepare so you learn fast
This tour is designed to run in all weather conditions, so dress accordingly. If you are wearing uncomfortable shoes, you will rush your thinking and miss photo opportunities.
Bring your own DSLR camera. The tour does not provide a camera. That might sound obvious, but it matters because the lesson focuses on how you personally operate your equipment.
A couple of practical prep tips:
- Know your basic controls (so you are not stuck hunting menus during the shoot)
- If you plan night photography, bring what you need for low light, and consider asking for the tripod in advance
- Charge your batteries, and clean your lens if you have been walking through the city on windy or rainy days
Day vs evening: choosing the best time for your camera goals
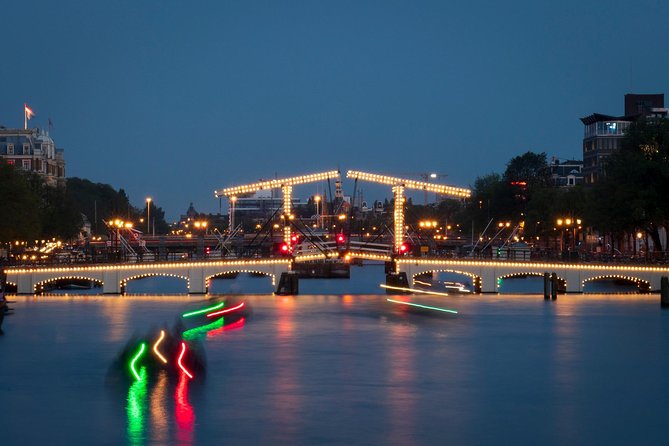
This is one of the easiest ways to tailor the tour to your needs. The experience offers both daytime and evening tours, and the difference is not just aesthetic.
Daytime tends to be easier for exposure learning, because you can work with clearer light and fewer surprises. Evening is where you can train your camera for harder conditions, including darker scenes and artificial lighting. If night photography is your weak spot, the best plan is to pick the timing that matches your goal and then ask for help with the exact settings you struggle with.
Logistics that make the lesson smoother
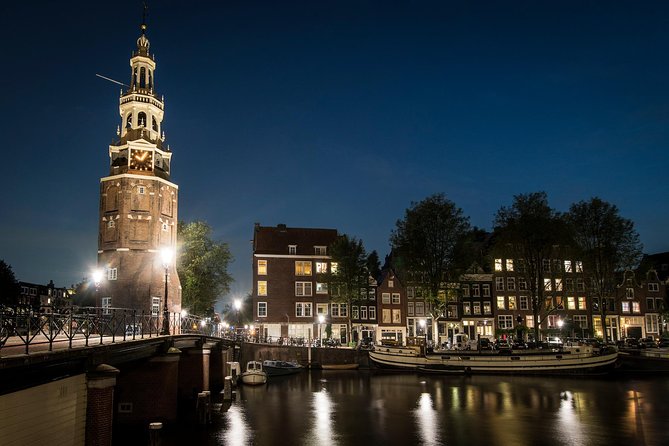
You meet at Leidsekade 97, 1017 PN Amsterdam. The activity ends back at the meeting point, so you are not forced to navigate the rest of your route on your own.
The tour is near public transportation, which is helpful if you do not want to spend extra time crossing the city before you start. It is also in English, making it easier to follow camera guidance without a language gap.
Group size is kept small, with a maximum of 4 people per booking, and it is a private tour, meaning only your group participates. That private feel is a big deal for photography learning, because you can ask questions without waiting for a larger group to catch up.
Who this tour is best for
This works well if you fall into one of these buckets:
- You want to learn camera basics in real locations, not just indoors
- You have a DSLR but you are not getting consistent results
- You want a structured photo walk with a pro who helps you adjust settings
- You are traveling with someone who also wants to learn, and you want it to be private
If you are completely new to photography, this will help you get your bearings fast, especially because each stop gives you a fresh subject. If you are more advanced, you may still enjoy it because the pro can help refine your approach and suggest practical adjustments for each type of scene.
Quick FAQ for before you book
FAQ
How long is the Amsterdam Photography Masterclass?
It runs for about 3 hours.
How much does the private lesson cost?
The price is listed as $204.24 per person.
Is this a private tour?
Yes. It is a private tour/activity, and only your group will participate. There is also a maximum of 4 people per booking.
Do I need to bring my own camera?
Yes. You are asked to bring your own DSLR camera.
Is a tripod included?
A tripod is not included, but one may be available upon request.
Is the tour in English?
Yes, it is offered in English.
Does the tour run in all weather?
Yes, it operates in all weather conditions, so you should dress appropriately.
Where do we meet, and where does it end?
You meet at Leidsekade 97, 1017 PN Amsterdam, and the activity ends back at the meeting point.
What is the cancellation timeframe?
You can cancel up to 24 hours in advance for a full refund.
Should you book this Amsterdam photo lesson?
I think this is a strong pick if you want better photos without wasting your days guessing at settings. The combination of a private small group, a professional photographer guide, and a route built around specific shooting subjects makes it feel like a real lesson, not a generic sightseeing walk.
Book it if you want hands-on help, including with tricky situations like night photography. Pass on it only if you are not using a DSLR, or if you prefer to learn entirely on your own without instruction.
If you have limited time in Amsterdam, this is also a good way to turn a single half-day into a skill you can use for the rest of your trip. You’ll leave with new ideas, more confidence behind the camera, and a set of shots that look like they came from planning, not luck.
Newest on the canal ring
- Amsterdam Bike Food Tour with Private Guide★ 5.0 · 1 review
- Amsterdam: Rijksmuseum Private Tour with an Art Historian★ 5.0 · 1 review
- Happy B-day Amsterdam! Guided Tour with a History Buff★ 5.0 · 1 review
- Local Foodie Adventure in Amsterdam★ 5.0 · 1 review
- Private Photo Shoot in Amsterdam with a Professional Photographer★ 5.0 · 1 review
- Private day trip to Giethoorn and the Enclosing Dike★ 5.0 · 1 review
- Private Sightseeing Tour to Giethoorn from Amsterdam incl. canal cruise★ 5.0 · 1 review
Photoshoots, compared.
Amsterdam Canal, Tulip, Windmill Photoshoot | Custom Request
Read our review →Amsterdam Canal, Tulip, Windmill Photoshoot | Custom Request
Read our review →
Become a Dutch Art Piece Photo Shoot in Amsterdam
Read our review →
Become a Dutch Art Piece Photo Shoot in Amsterdam – Single Portrait
Read our review →
Premium Romantic Photoshoot Experience for Couples
Read our review →
Browse the lists this tour appears in