
Reviewed · CITY WALKING TOURS
Capture Iconic Amsterdam: Photo Walk with a Pro Photographer
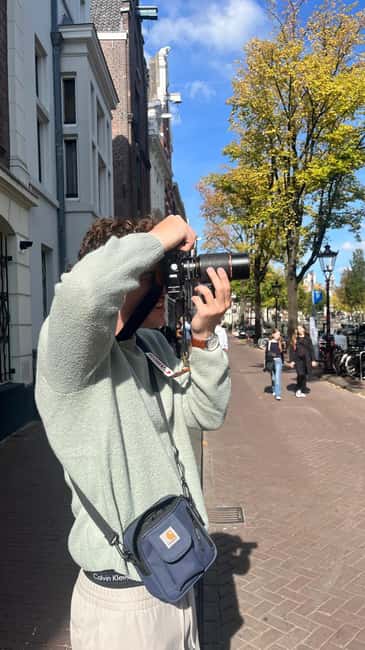
Cameras and canals make a deadly combo. This small-group photo walk turns Amsterdam’s streets into a practical classroom, with a pro photographer guiding you from Dam Square to the canal bends. I like that the first minutes focus on your actual gear, not generic advice, so you can start shooting with confidence.
What really stands out is the hands-on feedback loop. You check your settings, take photos at key viewpoints, then get personalized notes while you look at the images right on your screen, plus a short post-processing session over coffee. I also appreciate the take-home value: an illustrated walking map and a detailed technical booklet so you can keep practicing after the walk.
One thing to consider is that access and rules vary by stop and time. For example, on the 9 AM tour the inner courtyard of Begijnhof is still closed, and in the courtyard areas later on, DSLR use is not allowed, so smartphone shooters should be ready for that shift.
In This Review
- Key things I’d bank on
- Why this Amsterdam photo walk feels different from a regular sightseeing loop
- The meeting point: Dam Square, where the day starts with your camera settings
- Begijnhof and Spui Square: calm texture, careful framing, and real-world constraints
- Dubbele Worststeeg to Herengracht: reflections, symmetry, and leading lines
- Bloemenmarkt detail practice: color control in a place that’s almost too photogenic
- Two bridge viewpoints: Aluminiumbrug and Staalmeestersbrug with the Zuiderkerk tower
- Hands-on technique demos that actually connect to the streets
- Personalized feedback that keeps you from guessing
- Post-processing over coffee: simple edits you can use right away
- Route timing and crowds: why the morning feel can matter
- Practical value for the price
- What to bring so you actually benefit
- Who this tour is best for
- Before you book: the main decision points
- Should you book Capture Iconic Amsterdam: Photo Walk with a Pro Photographer?
- FAQ
- Where do we meet for the tour?
- How long is the photo walk?
- How much does it cost?
- What photography equipment can I use?
- Are camera settings taught during the walk?
- Will we be able to enter the Begijnhof courtyard?
- Is the tour mostly indoors, or do we walk outside?
- Are there entrance fees for attractions during the stops?
- Is the tour accessible for wheelchair users?
- What’s included besides the guide?
Key things I’d bank on
- Personalized coaching for your camera and your level, not one-size-fits-all tips
- Real-time shot review, you’ll look at your own photos during the walk
- A practical Amsterdam route, from Dam Square through Begijnhof, Herengracht, and canal bridges
- Hands-on technique demos, including depth-of-field, long exposures, split-toning, and motion blur
- Take-home tools, illustrated map plus a technical booklet and follow-up post-processing tips
Why this Amsterdam photo walk feels different from a regular sightseeing loop
Amsterdam is postcard-ready, but that can be a problem. You see a canal and press the shutter, and then later you realize your photo is just a nice view, not a good picture. This experience tries to fix that with a very direct format: you learn a technique, you apply it immediately, then you get feedback on your own frame.
It helps that the walk is short. At 2.5 hours, you are not stuck for half a day in “tour mode.” You can stay alert, catch the changing light, and still work through multiple subjects, from calm courtyards to classic canal symmetry.
And yes, you can do this with more than one kind of camera. The guide checks whether you’re shooting with a DSLR, mirrorless camera, advanced compact, or just a smartphone. That flexibility matters because Amsterdam photos are often about timing and composition, not gear bragging rights.
Other shoots with the canals behind you:
- Amsterdam Canal, Tulip, Windmill Photoshoot | Custom Request
★ 4.9 · 307 reviews - Amsterdam Canal, Tulip, Windmill Photoshoot | Custom Request
★ 5.0 · 147 reviews - Amsterdam: Foam Photography Museum Admission Ticket
★ 4.2 · 141 reviews
The meeting point: Dam Square, where the day starts with your camera settings
You meet at the National Monument at the foot of the pillar in the middle of Dam Square. It is easy to find and it gives you a strong start because the area is open and well-lit for quick camera setup.
Before the route really begins, the photographer does an equipment check. You’ll fine-tune the basics like ISO, aperture, and shutter speed so you are ready for Amsterdam’s shifting light. If you have ever gotten halfway into a shoot and realized your settings were wrong, this early adjustment is a big deal.
You will also do a quick photo stop right in Dam Square. It’s a good warm-up because you can practice composition fast, then move on while the group is still fresh.
Begijnhof and Spui Square: calm texture, careful framing, and real-world constraints
The first walk segment brings you to Begijnhof, a quieter pocket in the center of Amsterdam that’s perfect for slow-looking photography. For the 9 AM tour, the inner courtyard is still closed, so you focus on the surrounding historic buildings and picturesque alleys instead. That still gives you atmosphere and angles without betting on access that might not be available.
On later tours, when the courtyard is accessible, you can enter. The key detail is that the courtyard is great for smartphone photography, because DSLRs are not allowed there. So if you carry a DSLR, plan on using it for the street and canal areas, while the courtyard becomes your composition and timing practice for smaller cameras and phones.
From there, the route shifts toward the lively Spui square. That contrast is useful for learning because it forces you to adapt. Courtyards teach patience and careful geometry, while busier squares push you to react quickly and manage exposure when light levels change.
Dubbele Worststeeg to Herengracht: reflections, symmetry, and leading lines
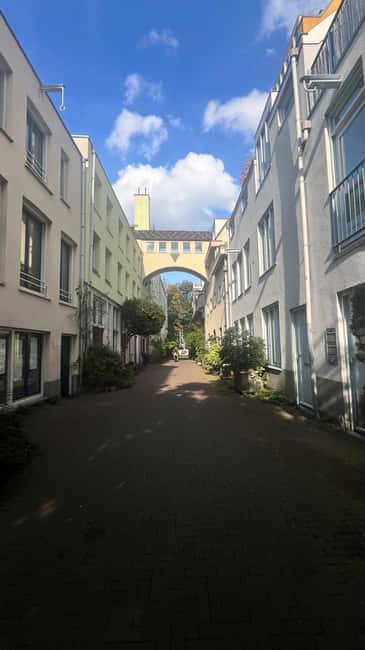
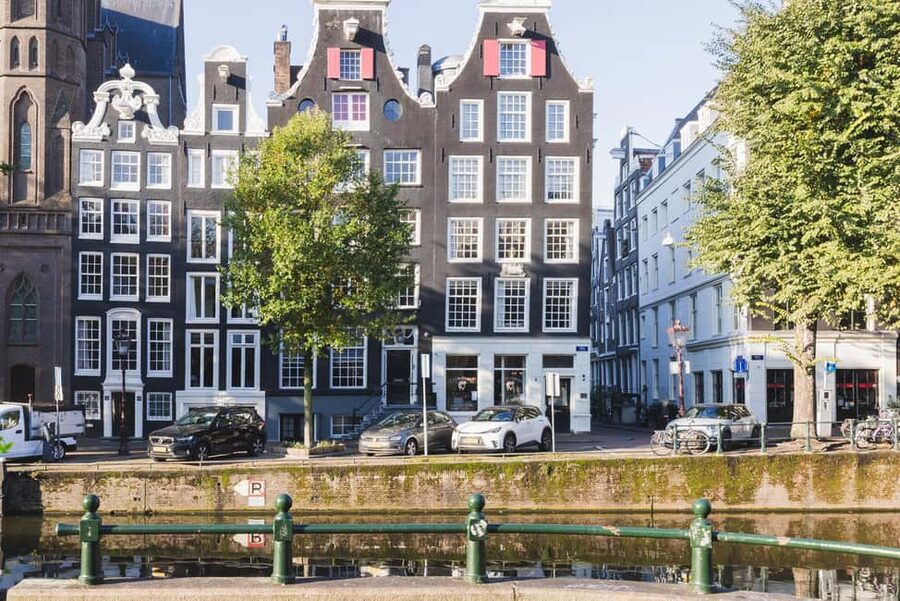
This is where the walk starts feeling like a real photo route, not just a list of famous names. You pass through a lesser-known alley called Dubbele Worststeeg, which opens out to the majestic Herengracht canal.
The coaching here is practical. You get pointed instruction on using reflections in the water, symmetry from bridges, and leading lines to frame Amsterdam’s gabled houses. Those are not abstract ideas. You can see them in front of you within minutes, and then your guide helps you translate that visual idea into camera decisions.
If you want a shortcut for better canal shots, it is this: treat the water like a mirror, and treat the buildings like the framing elements. The guide’s focus on reflections and symmetry gives you a framework so you stop shooting random angles.
More of the canal ring crossed on foot:
Bloemenmarkt detail practice: color control in a place that’s almost too photogenic
The route continues past the Bloemenmarkt, the Flower Market. It’s colorful, busy in bursts, and full of small subjects. That makes it a good place to practice details rather than only wide canal scenes.
This stop also helps with one of the biggest Amsterdam photo headaches: managing bright colors and mixed lighting. You can test settings, check the results, and learn how to avoid flat images where everything is the same brightness.
If you’re working with a smartphone, this is where the guide’s approach pays off. You can practice tap-to-focus, exposure adjustments, and composition without feeling like you’re missing a “real camera” skill set.
Two bridge viewpoints: Aluminiumbrug and Staalmeestersbrug with the Zuiderkerk tower
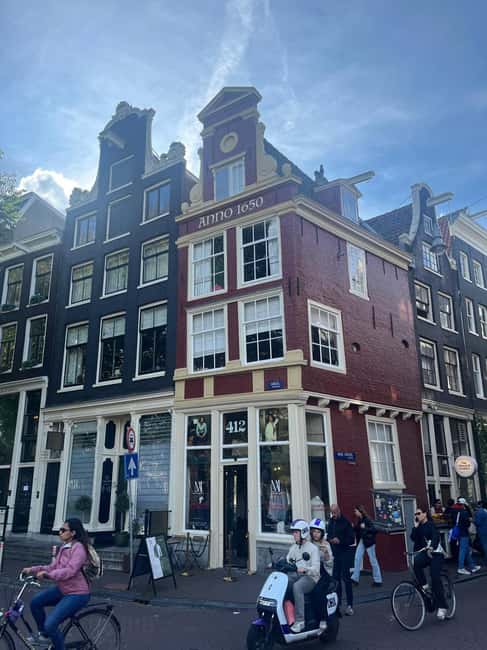
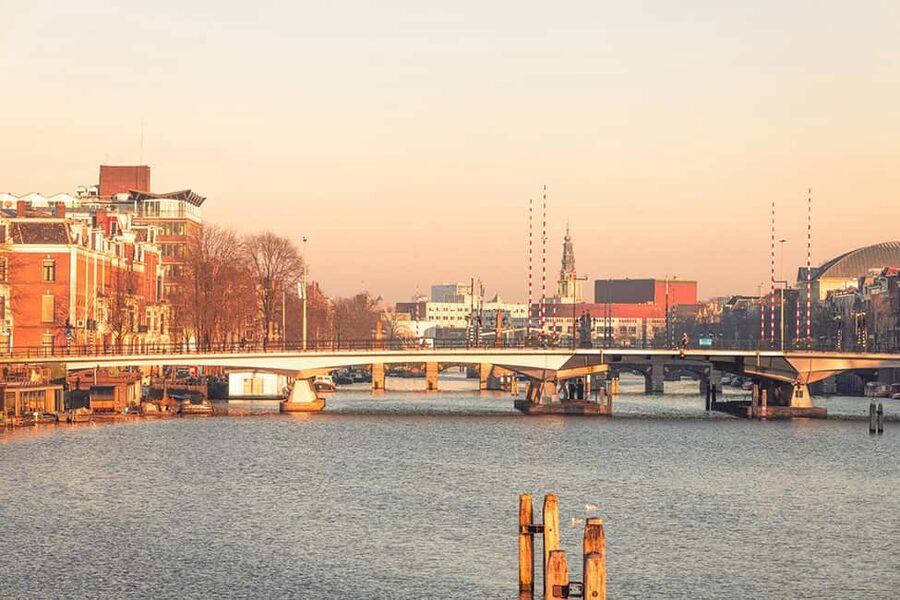
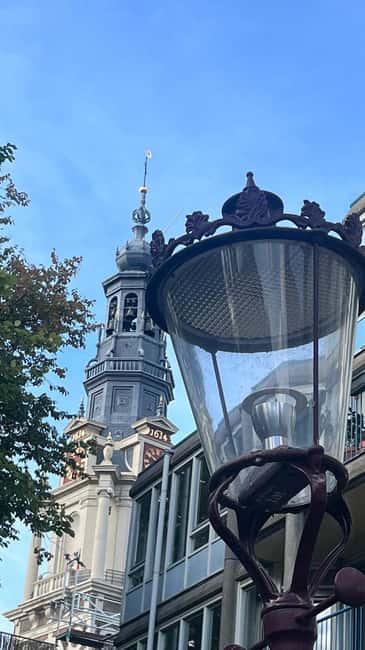
You then reach two of the walk’s most rewarding viewpoints: Aluminiumbrug and the famous Staalmeestersbrug, with a classic view of the Zuiderkerk tower.
This part of the route is ideal for composition and depth. Bridges naturally create strong perspective lines, and towers give you a vertical anchor that makes your photo feel intentional instead of accidental.
Your guide also emphasizes exposure control, especially with skies and dark canal water. You learn how to read your camera’s histogram to avoid overexposed highlights in the sky or clipped shadows in the canal. That one skill can instantly improve your keep rate, because it reduces the number of photos that look fine on location but fall apart later.
Hands-on technique demos that actually connect to the streets
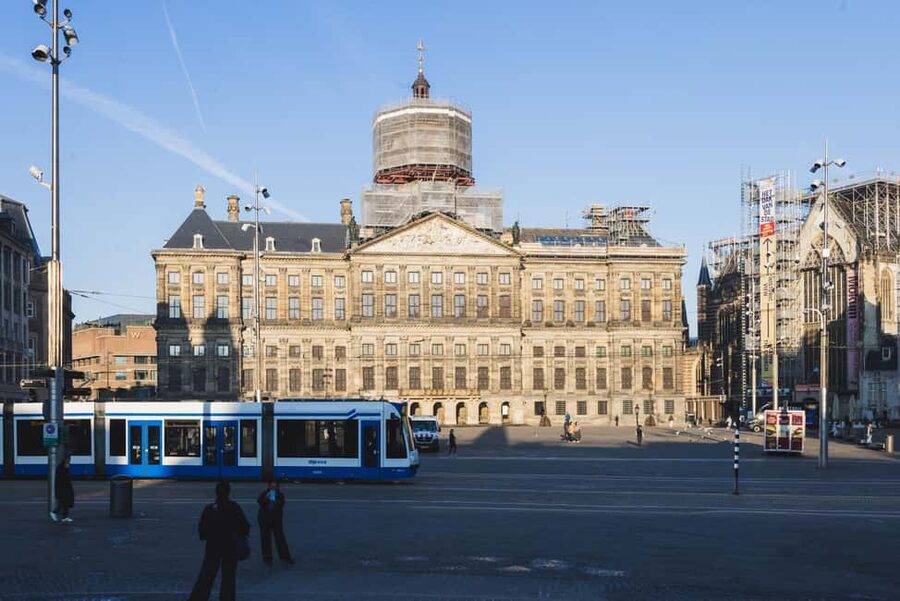
A lot of photo tours talk about settings. This one teaches methods you can use immediately. During the walk, you’ll get demos that cover:
- Depth-of-field (how to separate a subject from a background)
- Long exposures (how to smooth motion and create mood)
- Split-toning (how to push a color story)
- Creative motion blur (how to make movement part of the composition)
The value is in the “why,” not just the “what.” When you understand what each technique changes, you stop relying on luck. Then your guide can tailor feedback to what you tried on your own shots.
For example, if your long exposure looks muddy, it usually means something about shutter speed, aperture, or subject choice. If your background is too sharp, it likely means aperture settings are working against your goal. You get that kind of direction while the subject is still in front of you.
Personalized feedback that keeps you from guessing
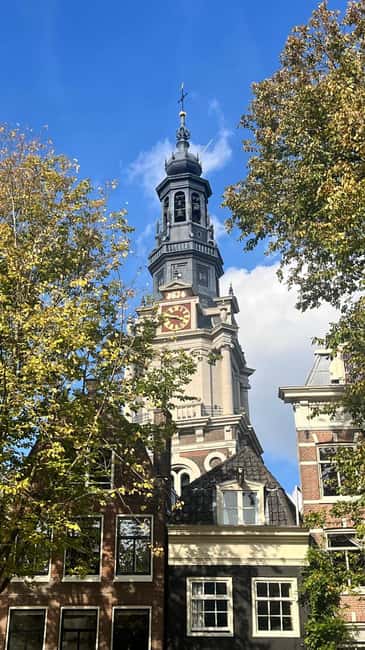
The walk runs long enough to produce a real set of photos, but short enough to keep the coaching immediate. Throughout the experience, you receive personalized feedback tailored to your skill level and your equipment.
You review shots directly on your camera screen as you go. That is a smart format because it prevents the classic mistake of thinking a photo is good only to discover it’s underexposed or out of focus later. With live feedback, you can correct quickly and try again before the light changes.
One detail I really like from the way the guide works is the ability to adjust. If you have a specific photo idea in mind, you can tell the guide and they can adapt the route to match it. That turns the walk into a collaboration instead of a rigid march.
Post-processing over coffee: simple edits you can use right away
At some point while you circle back toward Dam Square, you also get quick tips for on-the-go post-processing. The focus is on simple workflows, either using your camera’s custom profiles or popular mobile editing apps.
The edits you learn about are practical and visible:
- applying matte-curve treatments
- enhancing color contrast
- adding subtle film-style grain
This part matters because most people end up with a folder of Amsterdam photos that all look similar. Small tonal changes, controlled contrast, and slight grain can turn a decent file into something that feels like a personal visual style.
And because the coaching is brief and targeted, you are not stuck learning a full desktop workflow mid-vacation.
Route timing and crowds: why the morning feel can matter
If you go early, you tend to get a calmer street rhythm. A morning tour is a smart choice here because some areas feel more relaxed and you can focus on your frames instead of fighting for a spot.
That timing also helps with shooting consistency. You are less likely to have sudden crowd shifts that wreck your composition right when you’re ready to shoot a long exposure or symmetry shot.
Practical value for the price
At $112 per person for 2.5 hours, this is not a “cheap and cheerful” city stroll. But you are paying for two things that are hard to DIY:
- a pro photographer’s instruction tailored to your gear and level
- live critique of your actual photos, plus a take-home technical booklet and an illustrated map
If you’ve ever tried to learn photography from YouTube while traveling, you know how frustrating it is. You might learn theory, but you still guess what to set when conditions change. Here, you get direct correction at the exact moment your camera decisions matter.
Also, the included map and technical booklet are useful beyond the tour. Even if you only use part of the settings notes, you’re leaving with a repeatable method, not just memories.
What to bring so you actually benefit
Bring your own camera or smartphone. There’s no gear rental, so you’ll need enough storage and charged batteries.
Plan for cobblestones. Comfortable footwear really matters because the walk includes several short stretches where you’ll want stable footing for composition, especially at bridge viewpoints.
If you carry a small bag, use it for your gear so you can move quickly between stops without juggling items in your hands.
Who this tour is best for
This works best if you care about photography as part of your trip, not just as a souvenir habit. It’s a solid fit for hobbyists and enthusiasts because the instruction is hands-on and tailored.
It is also a good choice if you want to avoid wasting time. Instead of wandering for hours trying to “find good spots,” you follow a route built around subjects that teach specific techniques, and you get feedback while you’re there.
If you want a pure sightseeing walk with photos as an extra, this might feel a bit more structured than you expect. But if you want better results with your camera, that structure is the point.
Before you book: the main decision points
- Your camera type matters. You can shoot with smartphone or cameras, but some courtyard areas emphasize smartphone use, and DSLR access can be restricted there.
- Morning can be a win. Quieter streets make it easier to work on exposure and composition without constant interruptions.
- Be ready to learn while walking. This is not a slideshow tour. You’ll check settings, shoot, and review your own images in real time.
- Bring what you plan to use. There’s no rental, so you want your tools ready from the start.
Should you book Capture Iconic Amsterdam: Photo Walk with a Pro Photographer?
I’d book it if you want your Amsterdam photos to look like more than souvenirs. The combination of early camera setup, guided technique practice at real locations, and live review makes this a high-ROI way to improve quickly.
I’d think twice if you only want casual snapshots with no settings work. The walk does include opportunities to enjoy the city, but the main value is in learning how to control focus, exposure, and motion with guidance you can apply instantly.
If you enjoy being coached, like the idea of practicing reflections and symmetry at canal viewpoints, and want a take-home booklet you’ll actually use, this is a strong match.
FAQ
Where do we meet for the tour?
You meet at the National Monument on Dam Square. The instructions say to meet directly at the foot of the monument.
How long is the photo walk?
The duration is 2.5 hours.
How much does it cost?
The price is $112 per person.
What photography equipment can I use?
You can bring your own DSLR, mirrorless camera, advanced compact, or smartphone. The guide checks your equipment and helps fine-tune basic settings.
Are camera settings taught during the walk?
Yes. You start by checking and adjusting basic settings like ISO, aperture, and shutter speed, and you also get hands-on demos of techniques such as depth-of-field, long exposures, split-toning, and motion blur.
Will we be able to enter the Begijnhof courtyard?
For the 9 AM tour, the inner courtyard is still closed, so you explore the surrounding area instead. For later tours, the courtyard can be entered, and it is described as a challenge for smartphone photography because DSLRs are not allowed there.
Is the tour mostly indoors, or do we walk outside?
It’s a walking tour through Amsterdam, with photo stops at multiple outdoor locations and short walking segments between them.
Are there entrance fees for attractions during the stops?
No. All stops are public areas, and entry fees for paid attractions are not included.
Is the tour accessible for wheelchair users?
Yes, the tour is listed as wheelchair accessible.
What’s included besides the guide?
Included items are the guided photo walk, hands-on demos, personalized feedback with live image review, an illustrated walking map, a detailed technical booklet, and five pro post-processing tips. Coffee is mentioned for the image review.
Newest on the canal ring
- Amsterdam Bike Food Tour with Private Guide★ 5.0 · 1 review
- Happy B-day Amsterdam! Guided Tour with a History Buff★ 5.0 · 1 review
- Amsterdam: Rijksmuseum Private Tour with an Art Historian★ 5.0 · 1 review
- Local Foodie Adventure in Amsterdam★ 5.0 · 1 review
- Private Photo Shoot in Amsterdam with a Professional Photographer★ 5.0 · 1 review
- Private day trip to Giethoorn and the Enclosing Dike★ 5.0 · 1 review
- Private Sightseeing Tour to Giethoorn from Amsterdam incl. canal cruise★ 5.0 · 1 review
City Walking Tours, compared.
Amsterdam Anne Frank: Small-Group Walking Tour & Local Guide
Read our review →
Anne Frank’s Story – Guided Walking Tour through Amsterdam
Read our review →
Absolutely Amsterdam – the Essential Introductory Walking Tour
Read our review →
Anne Frank Guided Walking Tour in DE/EN/IT/ES
Read our review →
Anne Frank Walking Tour Amsterdam Including Jewish Cultural Quarter
Read our review →Browse the lists this tour appears in